Wednesday 23 March 2022

Shattered Cubism Quilt, how it began


This quilt began as half rectangle triangles. I had a clear plan of what I wanted and how I imagined it would look. However when it was up on the design wall, I didn't love it. I wasn't feeling the connection or any joy when I saw it. So it sat unloved, on the design wall and I got on with other projects.


Scroll on a year or so and I finally decided to give this another go. I decided to cut it up further and see what happened. 


It didn't take much to completely transform this into something I really love. 


It can feel scary to change a plan and to cut up your hard work without really knowing what the results will be. But on this occasion it has paid off, creativity sometimes requires a leap into the unknown and embracing the results.


Challenging ourselves in new ways will lead to more creativity and different ways of thinking, which is always worth exploring. 


This is when the half rectangle triangles began to excite me, simply being cut in half gave them such possibility and movement.


If you'd like to know more and would like to make a Shattered Cubism Quilt yourself, head to the free tutorial on my website.


How do you tackle projects that don't turn out as you'd hoped? Do you put them aside or maybe you reimagine them? Let me know!


Tuesday 24 September 2019

Slow stitching a Modern Japanese Rice Bag

I thought I'd share with you some images of the Japanese Rice Bag I made earlier in the year. This project was one of the most soothing I've worked on as it was such a simple make with beautiful results. 


I carefully chose my favoutite colours and prints, hand stitched in the garden over the summer and let my mind wander as I stitched freely, waiting to see what came next.


The pattern is The Modern Japanese Rice Bag by Karen Stevens and you can buy it on etsy here. I pieced most of the fabric together and then added a few patches of red that were scraps from a dress I'd made. I basted my fabric piece onto some cotton batting as I like the texture you get with the stitches and the bag is sturdy and squishy.


The pattern is easy to follow and it's a super quick make. I keep my current crochet project in it at the moment, I'm going to make another for some embroidery that I have on the go.


I lined mine with a fuchsia pink heavy satin that I have meters of, it's good to use some of it up!


There are some stitches on the bottom too, I like to add little details that are a surprise.

If you want to make one up in my fabrics, you'll need a Sample Pack and a fabric panel to make up the main body of the bag. Choose your favourite colours and then hunt through your scraps for some patches that will coordinate.


I used a variety of threads, linen, silk and some DMC to add different textures to the stitches. Enjoy picking out your fabrics and colours and then the slow process of adding some stitches and details to make your bag personal. 


** If you don't see a fabric panel in the shop in the colour you'd like, please get in touch. I have much more than is listed, let me know the colour you're interested in and I can list some for you.**

Friday 21 June 2019

making a Half Square Triangle (HST) cushion

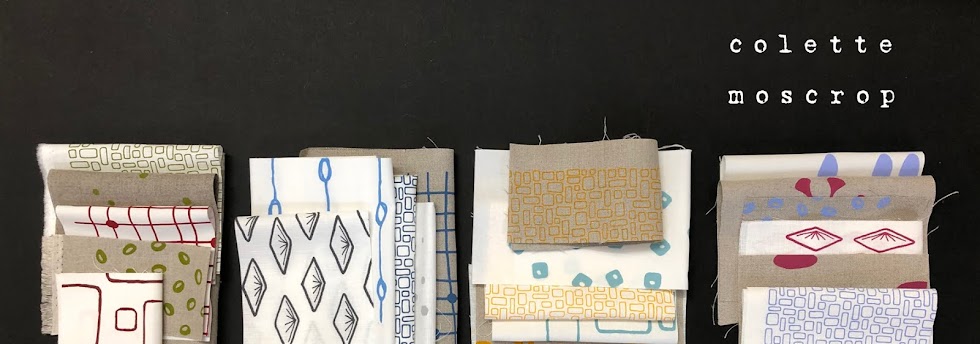
I'm a big fan of simple blocks and shapes when it comes to quilting, I like to see the print of the fabric and I like to add a solid colour to give the eye somewhere to rest and create a strong statement.

 
I've recently finished making 2 cushions using HST's and I thought I'd share my process with you. For both cushions I used fabric panels from my Etsy shop. You don't have to use the same prints or colours, choose something that will compliment your home decor.


For the grey cushion, finishing at 15.75" (40cm) square you need to cut:

8 solid pale grey 5" squares  
4 white with cloud seed 5" squares (1 panel)
4 grey with white seed 5" squares (1 panel)

For a solid backed cushion you'll need 2 fabric panels and 1/2m pale grey coton. 
In this cushion I used my printed fabrics on the cotton basecloth.


Draw a line diagonally across the solid pale grey squares and place each one directly on top of the printed sqaures, right sides together. 
Using a quarter inch seam allowance, stitch on either side of the diagonal line. Cut along the line so you have two traingles. Open and press your seams to the solid pale grey fabric.

Trim off ends so you're left with neat squares. 


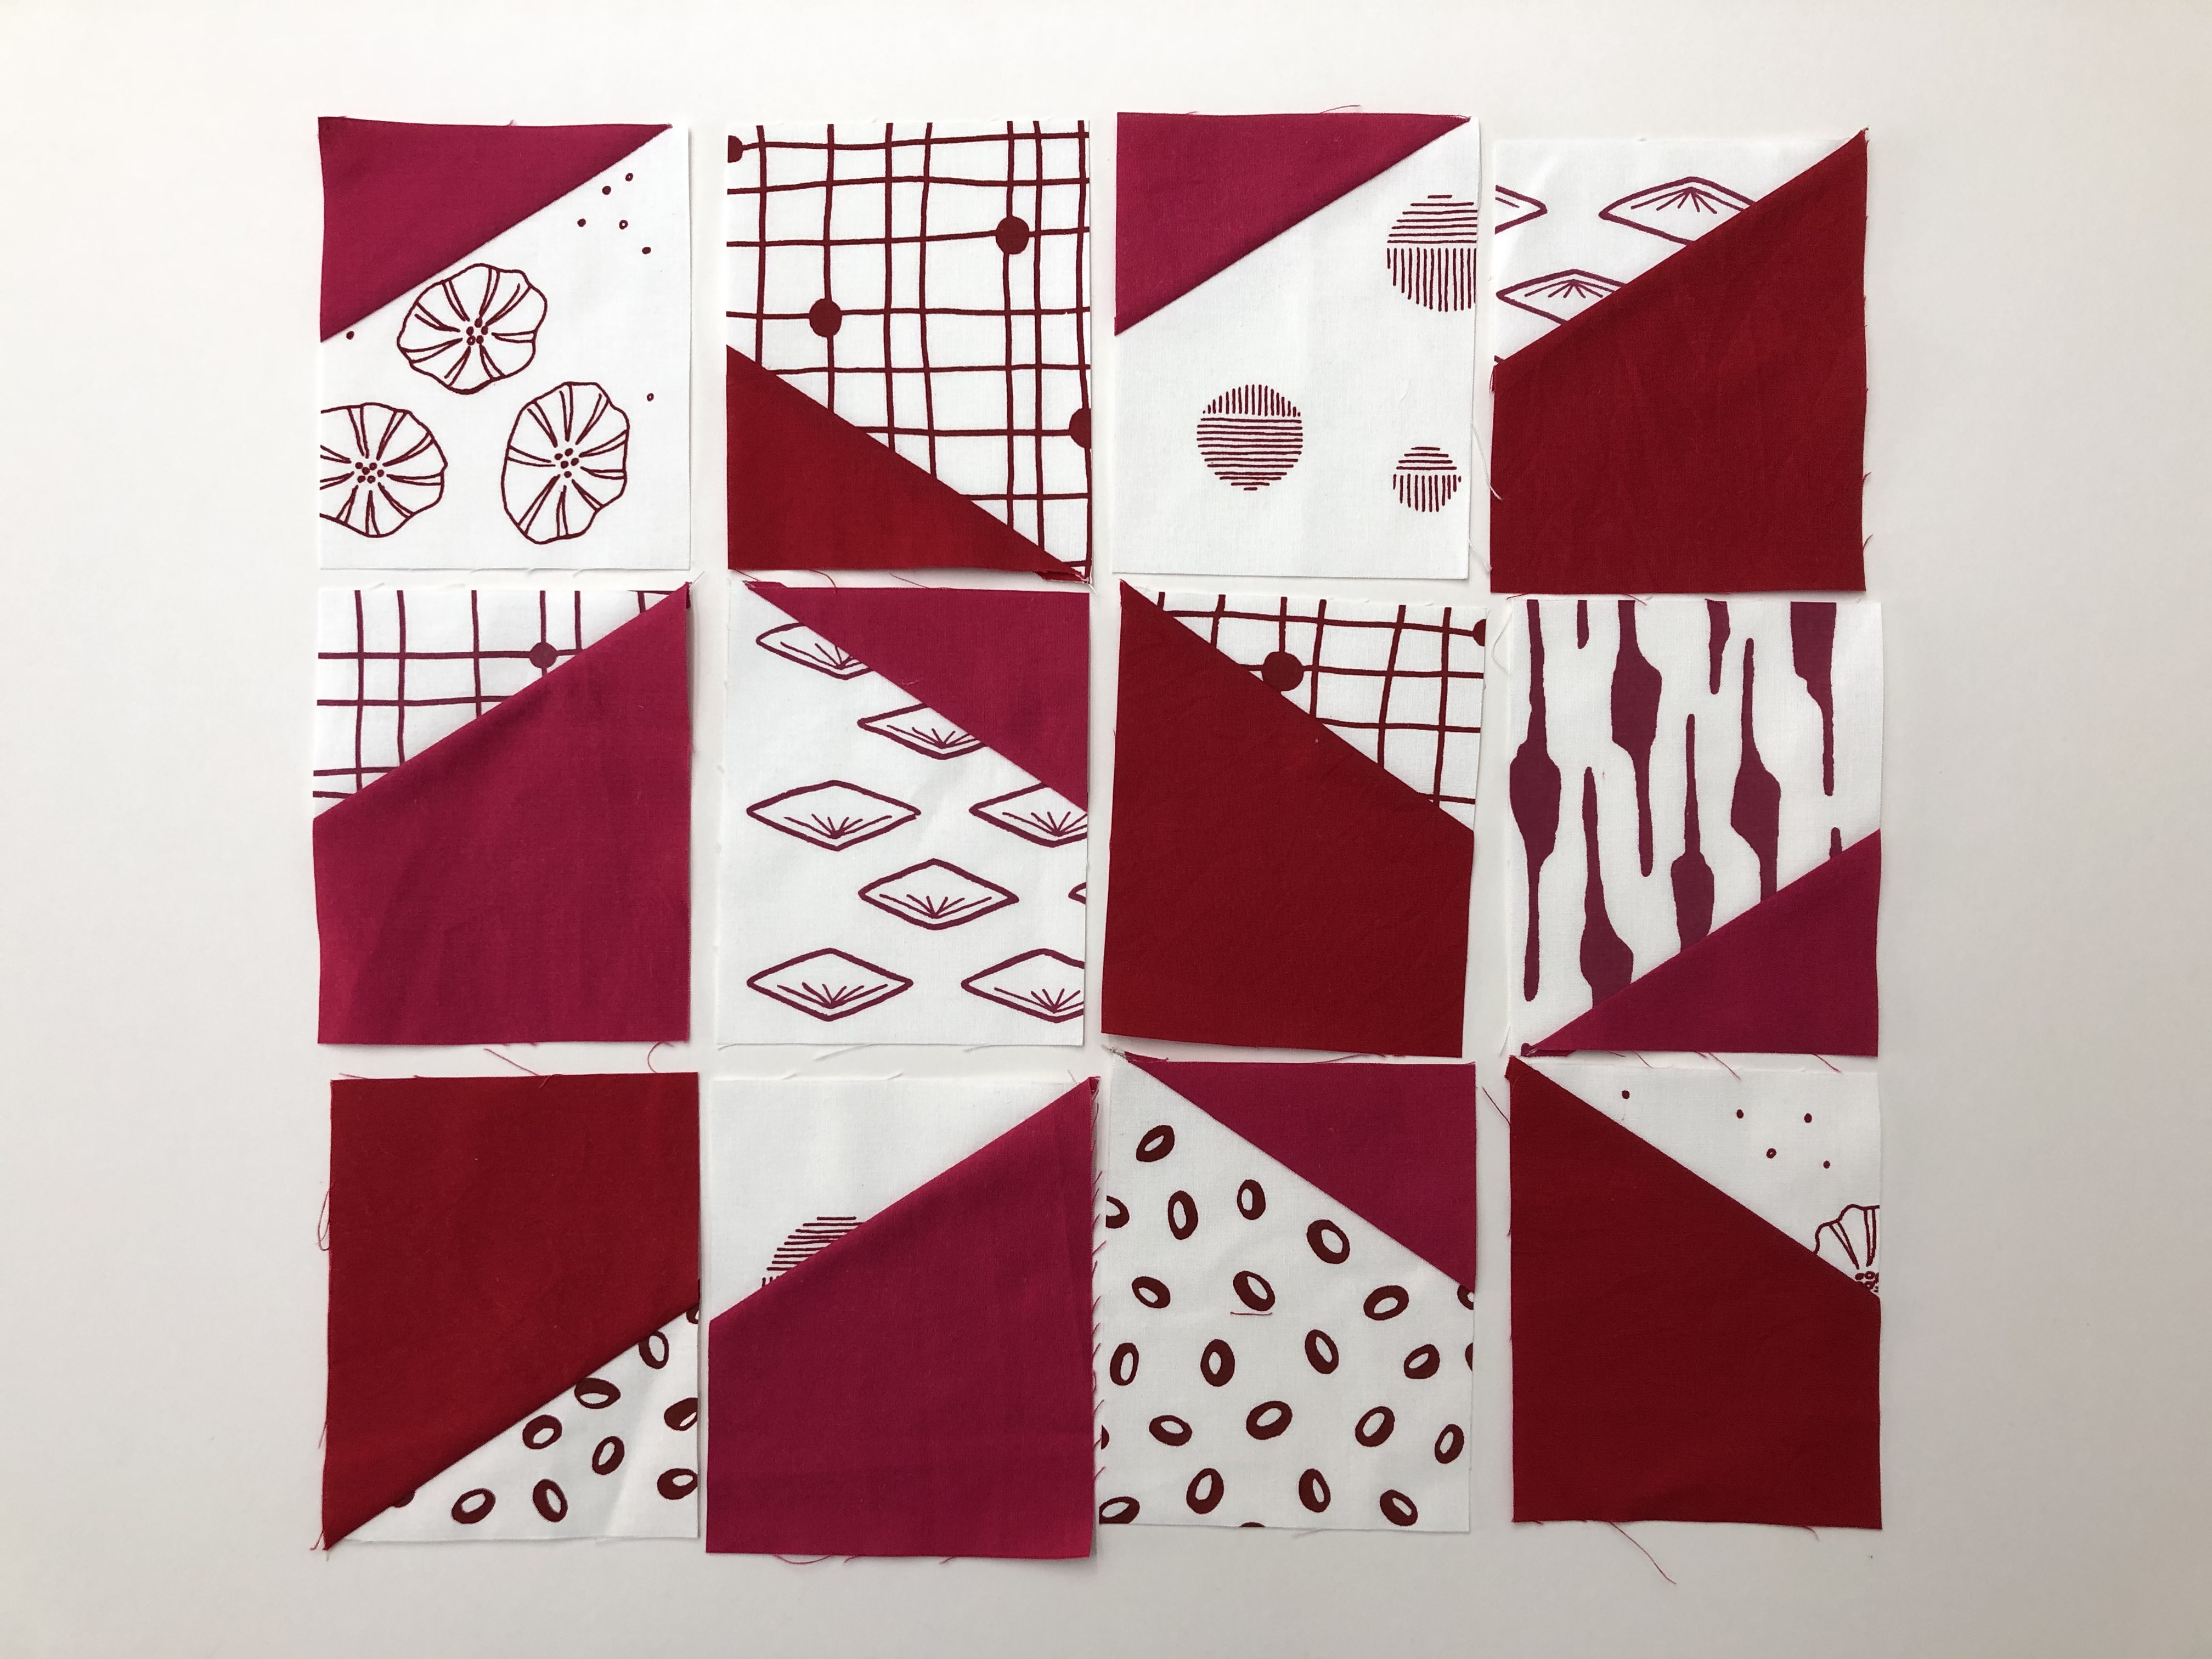
Now you have your Half Square Triangles ready to make a design of your choice. I played around with several options before I decided to go ahead with a random layout. If you're not sure, take photos of your potential layouts and look at them on your screen, they look quite different when you take a step back.


Once you've decided on your layout, sew together each row, using half an inch seam allowance. Press the seams on each row in alternate directions to reduce the bulk. 

Pin at the point where the squares are to meet and join together your rows. When you're happy your corners meet, press open the seam from the back to help reduce the bulk.


Then it's time to baste and quilt your cushion. I decided to hand quilt with some vintage linen threads to add some texture. I echoed the shape of each triangle with a pale grey thread and I love the finished cushion. I backed the cushion with a piece of the pale grey fabric and hand stitched it closed.


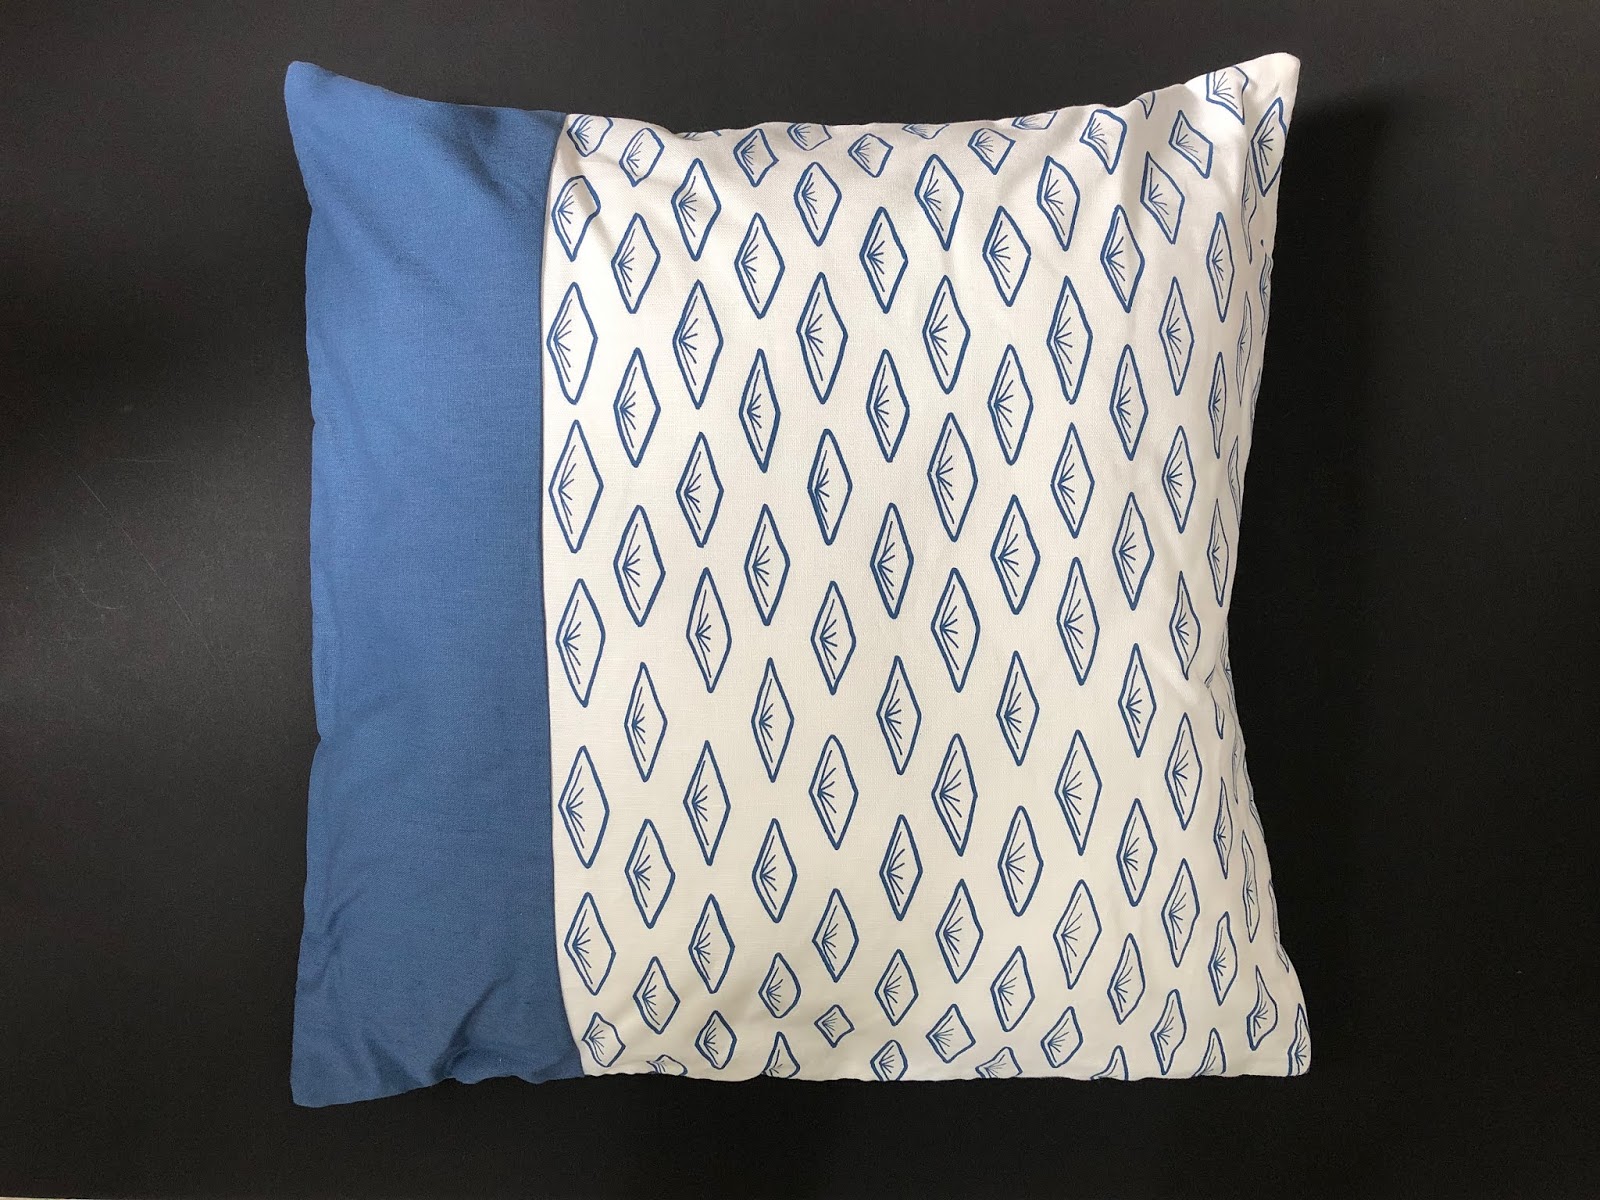
I also made a larger blue cushion using the same method in denim grid and cadet essex linen. 


For the blue cushion, finishing at 19" (49cm) square you need to cut:

8 denim grid 6" squares  (2 panels)
8 cadet essex linen 6" squares 

For a solid backed cushion you'll need 2 fabric panels and 1/2m essex linen.
For a pieced back you'll need 3 fabric panels and 1 FQ of essex linen.
In this cushion I used my printed fabrics on the linen / cotton basecloth.

The method for making up this cushion is the same. I hand quilted with a single stranded cotton and did a heavy Sashiko style running stitch on the essex linen and a lighter version on the grid print.


If you make a HST cushion or quilt with my fabrics I'd love to see, share it on Social Media with #ColetteMoscropTextiles. 

Please ask if you're unsure about anything, I'm happy to help where I can.

Tuesday 14 May 2019

The Maker's Art at The Heath Robinson Museum

Earlier in the year the Heath Robinson Museum invited me to be part of their program 'The Maker's Art'. The museum selects 3 local maker's to showcase different crafts and techniques. I'm the first printed textile designer to be featured and my work will be displayed in the museum shop for 6 months.


This is a huge honour, I'm a big fan of the museum and have been a regular visitor since it opened in 2016. I'm thrilled to see my work on display and everyone's work looks incredible. (unlike my photos)


If you've not been before you will love the space, there's a permanent exhibition of Heath Robinson's illustrations featuring complex contraptions and plenty of humour. Another exhibition runs alongside this, 'The Beardsley Generation' is on until the end of the week, then later in the May Tim Lewis' exhibition opens.

My fellow makers are Sarah Crickmore, a potter  working in raku and stoneware, (isn't that red pot amazing!) and Sylvia Colley who makes striking silver jewellery when not writing novels.


I'm photographed here with Jeannine at the end of the successful Private View. Thank you to everyone who attended the event and listened to the makers talk about the processes they use to transform their raw materials into works of art, it was fascinating to hear the stories.

Thank you to Jeannine, who manages The Maker's Art and to all the wonderful volunteers who make this such a special place to visit. My work is in the shop until October, so pop along to this leafy corner of North West London and enjoy a day exploring the museum and Pinner. 

Thursday 14 March 2019

under the influence of art deco - new designs

I'm very much a fan of prints and styles from decades past, particularly from the 1920's - 1950's. I recently looked back at architecture, furniture design and the modern styles that became poplular in the 1920's when Art Deco began. 


The simplicity and sleek lines were like nothing seen before and a truly modern way of living. To this day many of the styles still have an edge to them and remain immensely popular.


I was influenced by the lines and styling of this period while working on my two new designs Tulip and Diamond. I think I have captured the essence of the movement while creating a modern interpretation. I wanted to keep a softness to the finished design and they have turned out beautifully. I hope you'll agree and enjoy incorporating these into future projects.


I have started a new project, the tulip design was screaming to be stitched into and is a wonderful template to create your own embroidery. I began with simple seed stitches to add some colour to the tulips and I was going to do a different stitch on each flower, but the simplicity of these really appealed so I continued. 

These will be available in my Etsy shop soon, I'm sold out of some of the options after the Spring Knitting and Stitching Show and I'm waiting for a fabric delivery so I can reprint.

Saturday 16 February 2019

The Spring Knitting and Stitching Show

I'm excited to be returning to The Spring Knitting and Stitching Show at Olympia this year. I'll be bringing along some new designs, which I'll be sharing with you very soon.


I'm currently printing, heat setting, putting together sample packs and generally adding to my 'to do' list every day. These events are always so enjoyable but there's an enormous amount of prep beforehand. 


If you're coming along you'll find me on stand H72, if you're booking your tickets use the code SPRING126 to make a small saving.


This bundle is the February selection for Fabric Club, but any spares will be available at the show as single panels. 


My shopping list is already very long, I'm particularly looking for a cotton yarn to make this jumper, after I saw Gillian's version, I hope I get chance to find something!

Tuesday 29 January 2019

slow stitching

I've really taken to slow hand stitching over the last year, the rhythm, the connection, the imperfection.


Repetition and exploring the cloth, simply going with the flow, keeping the colours to a minimum and letting the texture of each simple stitch be enough. It's been a liberating experience and fitted in well with a challenging year. 


The many ups and downs of life  can be tough, and sometimes just changing our habits in the smallest ways can be enough to get us through to the next chapter, one stitch at a time.


These are made from offcuts and misprints that I can't bear to throw away. I have patched them together to create a simple piece, basted it onto cotton quilt batting and hand stitched into the patchwork. Sometimes with just a few sparing stitches, others with dense running stitch to create a wonderful texture.


These are mini pieces that I've hung as display work, but they would make beautiful placemats. As they're made of scraps there's no need to be precious about them if the become marked with wear. 

Love them and enjoy them, surely that's why we create.


Wednesday 9 May 2018

print and stitch part 2

I've continued to work on the project I started last January, printing and hand stitching linen squares. Each square is a new canvas and I approach it with no vision in mind. I'm led by my mood to choose a colour and pattern and I'm enjoying the freedom of play with this, I don't need to consider repeats and I let the design evolve naturally. Once the ink is dry and heat set I can begin the hand stitching, most of them are fairy simple, the patterns are quite bold and an uncomplicated stitch brings the piece some harmony.


My intention was to make a quilt with them all, I think this will still be the case, I just need to work out how to make it a little calmer. There's a lot going on here.


Perhaps sashing with some coloured linen would help, I feel the squares need some space to breathe.


The lighter colours look great in real life, though they're very tricky to capture in a photo.


I may make a couple of quilts, I'm not sure I could handle all these colours and patterns in one piece.


I will continue to make up squares as I'm really enjoying the process and starting something without a plan has been very liberating. Even though it is creating a challenge to make something cohesive with such a varied selection of squares, I hope to be able to pull them together to create something pretty special in time. 
If you're on instagram, you can follow the progress of this project with the hashtag #cmprintandstitch

Wednesday 21 February 2018

sketchbooks

It's true that I have a love / hate relationship with sketchbooks. I love to draw and sketch in them but often don't find the time, yet doodle on envelopes endlessly instead. 
Last year I began a 100 day challenge to fill a page in my sketchbook each day. I didn't even make it half way. You can see the results here.


I tend to have on / off phases with sketchbooks, which is crazy, it should be part of my daily practice.
So I have started to do just that, I'm making sure I spend just 15 minutes a day making patterns, drawing and experimenting.


I'm currently using black ink only, to limit my 'faffing' and trying to create the perfect image with the perfect colour combinations. I waste a lot of time overthinking work in a sketchbook, which is entirely what a sketchbook shouldn't be. It should be free, experimental, a visual diary, inspiring.


Looking at what I've created so far I have a long way to go at loosening up and experimenting. I think I need to play with different inks, collage, scale...  so much to try out.


I'll post updates on instagram as well as on here. I'm looking forward to this!

Thursday 26 January 2017

our 52 week project - print and stitch part 1

As the new year began I was looking for a project to commit to, which wouldn't leave me stressing to hit deadlines, but would push me creatively. I came across the #our52weekproject on Instagram which was started by Brooklyn Haberdashery. It was just what I needed, you set your own project and the only commitment is to post an image on Instagram once a week using the hashtag. Perfect.


My project is to print and stitch into linen squares measuring 30 x 30 cm. I'm keeping it simple, I don't know how many I'll complete, I don't have a plan of how they will look. They will most likely become a quilt.


This print was stencilled using the waste you get from sticker sheets, (these were from Moo stickers) I did a tutorial for this way back here


I'm keeping the stitching really simple, so far just running stitch. Hand stitching into linen feels so luxurious, I'm really enjoying the time spent on this project.


More stencilling this week, introducing a second colour.


So many possibilities with this project, it's very freeing to work on this with no restrictions and no pressure. 

If you'd like to join in, find #our52weekproject and start sharing your creations.